A Developer’s Best Friend for Linux Systems
If you’ve ever deployed something on the web, you’re likely familiar with servers running Linux distributions. Unlike your local machine, these servers often lack a graphical user interface (GUI). Instead, you interact with them through a terminal window. This is where SHELL comes into play.
SHELL is the language of Linux that allows you to interact with the system, execute commands, and automate repetitive tasks. Whether you’re managing files, deploying applications, or setting up servers, SHELL scripting can save you time and effort.
What is SHELL?
SHELL is a command-line interpreter that acts as a bridge between you and the operating system. It allows you to execute commands, manage files, and automate tasks. Think of it as the “language” you use to communicate with Linux-based systems.
Why is SHELL Important?
- No GUI? No Problem: Servers often run without a GUI, so SHELL is your primary way to interact with them.
- Automation: Repetitive tasks can be automated using SHELL scripts, reducing the chance of human error.
- Efficiency: A single SHELL script can perform complex operations in seconds, saving you hours of manual work.
My First Encounter with SHELL’s Power
I truly understood the power of SHELL scripting when I was tasked with setting up a server for our European user base. Here’s what the process looked like:
- Create Folders: Set up directories for the backend server code and future changes.
- Install AWS CLI: Interact with Amazon ECR (Elastic Container Registry) to fetch Docker images.
- Configure AWS CLI: Authenticate and configure the AWS CLI.
- Install Docker: Ensure Docker is installed and running.
- Fetch and Run Docker Images: Pull the required Docker image and run it with the correct port mappings.
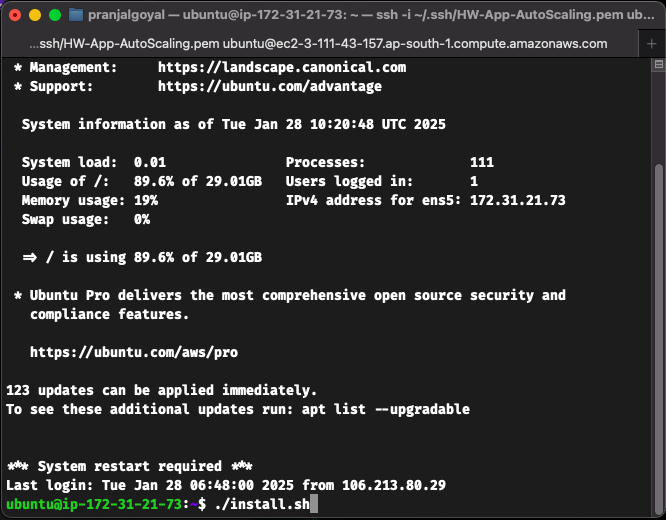
Manually performing these steps for every server would have been tedious and error-prone. But with SHELL scripting, I automated the entire process into a single command. Here’s how:
#!/bin/bash

# Step 1: Create folders for the backend server code base and future changes
CODE_BASE_DIR="/opt/backend_server"
CHANGES_DIR="/opt/backend_changes"

mkdir -p "$CODE_BASE_DIR" "$CHANGES_DIR"
echo "Created folders: $CODE_BASE_DIR and $CHANGES_DIR"

# Step 2: Install AWS CLI if not already installed
if ! command -v aws &> /dev/null; then
    echo "AWS CLI not found. Installing..."
    curl "https://awscli.amazonaws.com/awscli-exe-linux-x86_64.zip" -o "awscliv2.zip"
    unzip awscliv2.zip
    sudo ./aws/install
    rm -rf awscliv2.zip aws/
    echo "AWS CLI installed."
else
    echo "AWS CLI is already installed."
fi

# Step 3: Configure AWS CLI (Requires user input)
echo "Configuring AWS CLI..."
aws configure

# Step 4: Authenticate Docker with Amazon ECR
if ! command -v docker &> /dev/null; then
    echo "Docker not found. Installing..."
    sudo apt-get update
    sudo apt-get install -y docker.io
    sudo systemctl start docker
    sudo systemctl enable docker
    echo "Docker installed and running."
else
    echo "Docker is already installed."
fi

AWS_REGION="us-east-1" # Change this to your region
ACCOUNT_ID=$(aws sts get-caller-identity --query "Account" --output text)
ECR_URL="$ACCOUNT_ID.dkr.ecr.$AWS_REGION.amazonaws.com"

aws ecr get-login-password --region $AWS_REGION | sudo docker login --username AWS --password-stdin $ECR_URL

# Step 5: Fetch the image and run it
IMAGE_NAME="backend-server" # Replace with your image name
TAG="latest" # Replace with your desired tag

FULL_IMAGE_NAME="$ECR_URL/$IMAGE_NAME:$TAG"
echo "Pulling image: $FULL_IMAGE_NAME"
sudo docker pull "$FULL_IMAGE_NAME"

# Step 6: Run the Docker container and expose ports
PORTS=(8080:8080 3000:3000 5432:5432) # Add your specific port mappings here
PORT_ARGS=""
for PORT in "${PORTS[@]}"; do
    PORT_ARGS+="-p $PORT "
done

echo "Running Docker container with port mappings: ${PORTS[*]}"
sudo docker run -d $PORT_ARGS --name backend_server "$FULL_IMAGE_NAME"

echo "Setup completed. Backend server is up and running."
This script automates the entire server setup process, ensuring consistency and eliminating manual errors.
Another Real-World Use Case: Automating Netdata Installation
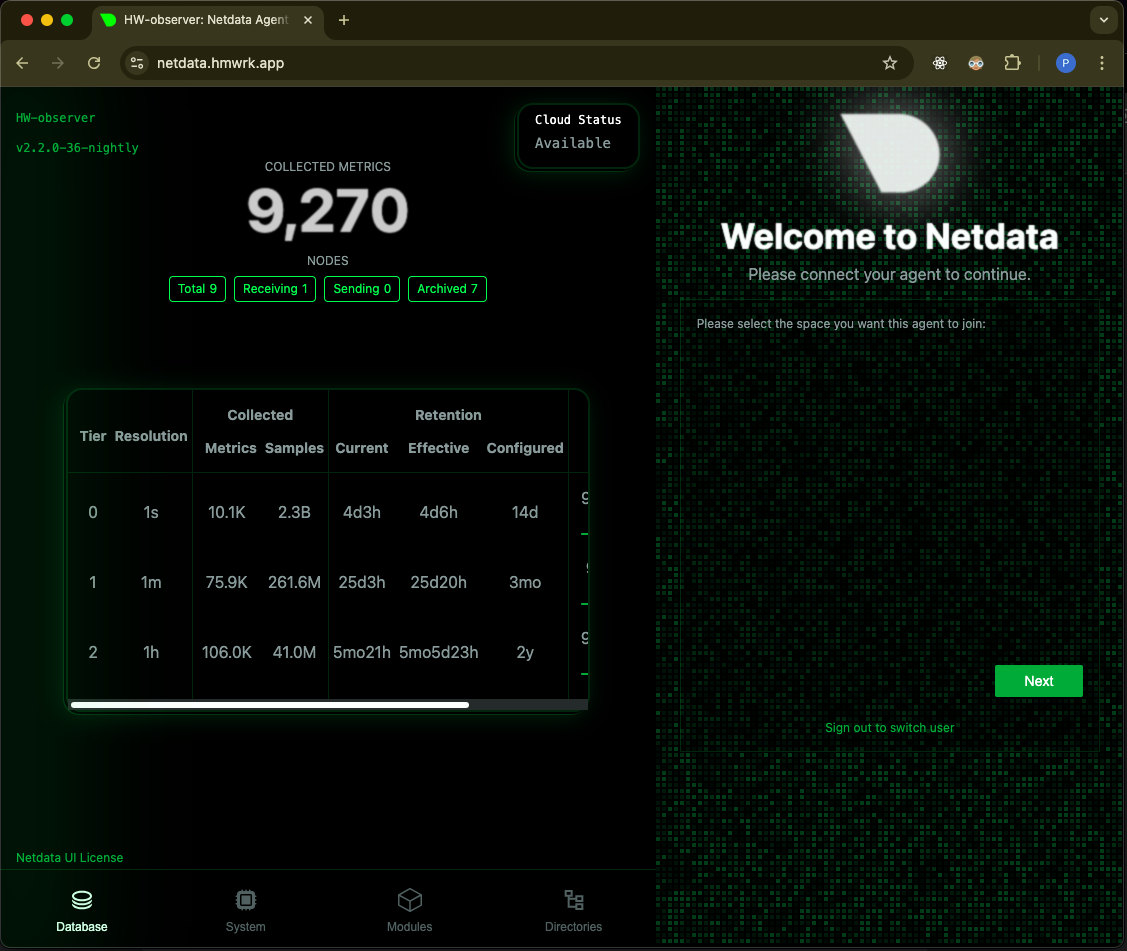
In the world of microservices, monitoring tools like Netdata are essential. Netdata provides real-time insights into API throughput, CPU usage, disk usage, and more. It can even send alerts (e.g., Slack notifications) when thresholds are exceeded.
The Challenge
We had 6-7 interdependent services, and I was tasked with installing Netdata on each one. Each service needed to transmit its data to a central “parent” Netdata node. Manually configuring each service would have been time-consuming and error-prone.
The Solution: SHELL Scripting
I created a SHELL script to automate the installation and configuration of Netdata across all services. Here’s what the script did:
- Install Netdata: Automatically install Netdata on each service.
- Configure Parent Node: Set the parent Netdata node for data transmission.
- Ensure Uniformity: Standardize the setup process for future services.
This not only saved time but also ensured consistency across all services.
Why Every Developer Should Learn SHELL
SHELL scripting is like Git or SQL—it’s a foundational skill every developer should have. Whether you’re deploying applications, managing servers, or automating tasks, SHELL can make your life easier.
Key Benefits of SHELL Scripting
- Automation: Automate repetitive tasks to save time and reduce errors.
- Efficiency: Perform complex operations with a single command.
- Flexibility: SHELL scripts can be used for a wide range of tasks, from file management to server setup.
SHELL scripting is a powerful tool that every developer should have in their toolkit. Whether you’re setting up servers, automating deployments, or managing microservices, SHELL can help you work smarter, not harder.